Thursday 28 November 2013

Cucumber muffins


When I first saw this recipe I was very hesitant. Cucumber? In a cake? Seriously? I've never tried anything like that before. However I decided to be adventurous and make it. And the result totally surprised me. The cucumber aroma comes through wonderfully, reminding you of summer evenings when you'd order Pimms in a pub and sit down in the beer garden with a bunch of friends. These muffins have the same refreshing quality, just like the Pimms has. They are soft, moist, with lovely texture. I totally enjoyed them! Hope you will too, guys!

The recipe below is adapted from Allrecipes.
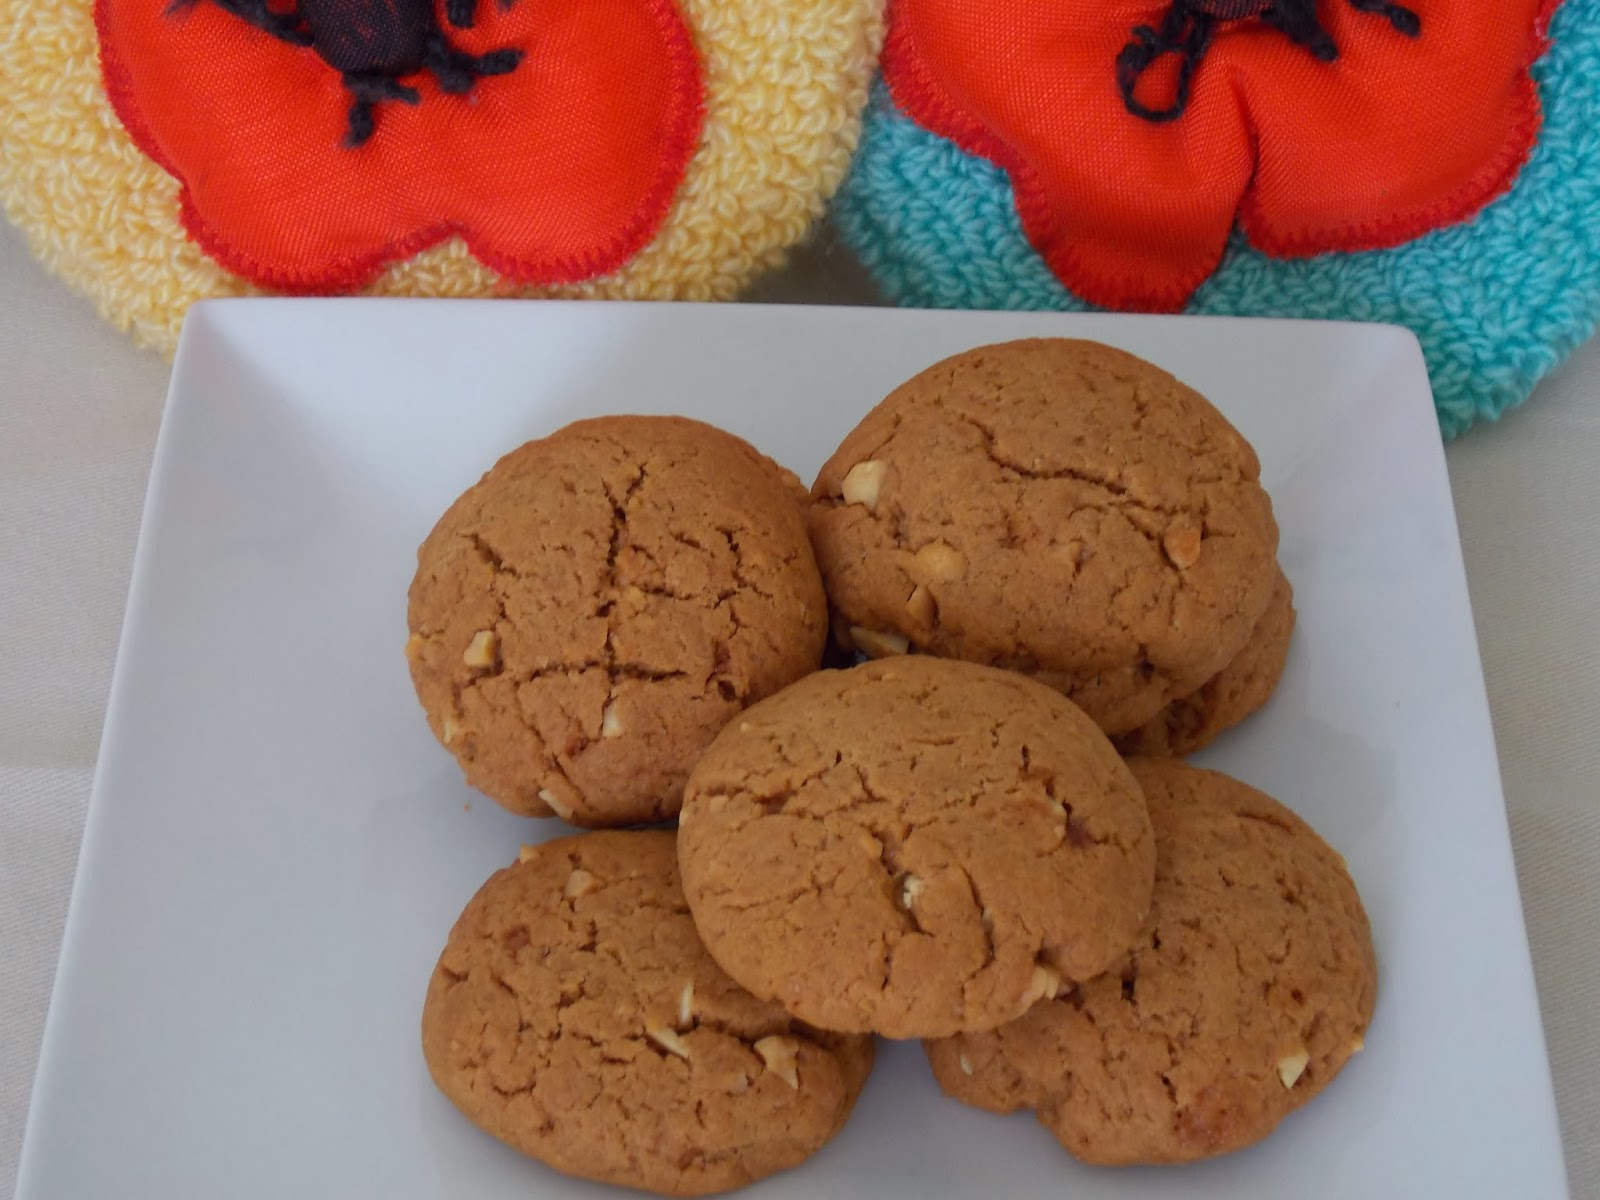

Cucumber muffins

Recipe (makes 6 muffins):

1 egg
1/2 cup of sugar
1/2 cup of grated cucumber
1/4 cup of vegetable oil
1/2 tsp of vanilla
3/4 cup of AP flour
1/4 cup of roasted chopped walnuts (or pecan nuts)
1/2 tsp of cinnamon
1/2 tsp of baking soda (dissolved in 1/2 tsp of vinegar)
1/4 tsp of salt
1/2 tsp of baking powder

Mix all wet ingredients and sugar together. Whisk till a little frothy. Now mix all dry ingredients except nuts and baking soda. Combine wet and dry till the batter is smooth. Finally incorporate baking soda (dissolved in 1/2 tsp of vinegar) and nuts.

Line the muffin tin with paper cases. Divide the batter evenly between 6 holes. Bake in a pre-heated to 180C oven for approximately 25 minutes (or till the wooden skewer inserted in the centre comes out clean). Cool for about 10 minutes in a tin, then transfer on a wire rack to cool completely.

Enjoy!


Tuesday 26 November 2013

Blackberry half-cheesecake


This year we had an enormous harvest of blackberries. I put blackberries into literally every dish I made: into fruit salads, milkshakes, smoothies, buns... This particular recipe was just an experiment: I was playing with ingredients trying to use another batch of blackberries which I picked in my garden, and the cake turned out so nice that my husband ate it all and demanded another one next day.

Why half-cheesecake? Well, because that's what it is: it is not exactly a cheesecake in a traditional view, but it does contain enough cream-cheese in it to claim some of the the fame.

Texture-wise it's so soft and tender that it melts in your mouth. And blackberries give it a fresh fruit ting, not to mention a stunning colour which will make this cheesecake a centrepiece on your table. I hope you will like it just as we did!


Blackberry half-cheesecake

Recipe

Cheesecake:
400 g of blackberries (I used fresh)
150 ml of double cream
250 g of cream-cheese
2 eggs (divided)
1/2 cup of sugar
1/2 cup of semolina
1/4 cup of AP flour
1/4 tsp of cream of tartar

Ganache:
150 ml of cream
100 g of dark chocolate
100 g of milk chocolate
3 Tbsp of agave nectar (you can replace it with any flower honey)

Heat blackberries in a saucepan over medium heat till they are soft and the juice released from the berries just start to bubble. Remove from the heat and puree berries with a blender. Strain through a sieve to get rid of seeds. To the puree add cream, sugar and cream-cheese.

Separate egg yolks from egg whites. Keep the whites for the time being in the fringe. Add yolks to the mixture and blend well.

Add semolina to the mixture and let sit for one hour. Do not omit this step! Semolina needs some soaking time in order to become soft. After one hour add flour to the mixture.

Finally take your egg whites from the fridge and whisk them with cream of tartar to stiff peaks. Using a spatula carefully fold whites into your batter. Pour the batter into a greased spring form tin (mine is 24cm in diametre) and bake for 55 minutes at 180C. Unlike a proper cheesecake where the centre should still be wobbly when you finish baking, this half-cheesecake should be springy to the touch.

Once the cake is baked, cool it completely in the tin.

Make ganache: melt all the ingredients together in the microwave in 30 second bursts. Pour on top of the cake and put it in the fridge. Chill for 3-4 hours (or better overnight).

Enjoy!


Sunday 24 November 2013

Chimney cake - Kurtos Kalacs


I first came across these unusually shaped buns when we traveled to Hungary. And they were not just shaped unusually. They were cooked in an unusual way too - on the charcoal, just as you would do a kebab on a stick. But for these cakes the sticks were more like thick pieces of wood (or giant rolling pins). The cook had to make sure the sticks constantly rotate, so that you do not end up with one side being burnt and the other still being raw. Bottom line: one needs a lot of special expertise (and equipment) to make chimney cakes at home. Or so I thought at the time...

However, the taste of a chimney cake really hit me. The dough is very soft, with nice cinnamon, nutty and caramel flavours. After trying them once I seriously focused my mind on how I could replicate this recipe in home conditions. Luckily, a friend of mine came up with a simple solution (and simplicity is always a sign of genius!). I tried her suggestion - and the result was, well, nearly as good as the original. So I am happy to share this treat with you!

The recipe itself is taken from the blog Joepastry. I have very slightly adapted it.


Chimney cake - Kurtos Kalacs

Recipe

Dough:
1 3/4 cups of AP flour
2 tsp of instant dry yeast
2 Tbsp of sugar
1/8 tsp salt
2 egg yolks
42 g of melted butter
125 ml of warm milk
oil for greasing the moulds

Topping:
60 g ground roasted walnuts
1/2 cup of sugar
2 tsp of cinnamon

First of all you will need to make chimney cake moulds. To do that cut the carton which is in the middle of your paper towel roll into 2 parts (each about 11 cm long). After a few experiments with different lengths I found that 11 cm works perfectly for a standard oven. Wrap each cylinder in kitchen foil. Like that:


For this recipe you will need 6 moulds. Once the moulds are ready, grease them in oil.

Now we can start making the dough. Dissolve yeast in milk, let stand for about 20 minutes. Add all other ingredients and knead the dough for about 10 minutes. Put it in a bowl and let rise in warm place till it doubles in size.

Divide the dough into 6 equal pieces. Roll each piece into a very long ribbon (about 40-50 cm long). Take your mould and wrap the ribbon along it, creating a spiral. Repeat the same with other pieces.

Combine all the ingredients for topping and spread the mixture on a shallow plate (or on a chopping board). Roll each cylinder in the mixture, so that topping sticks to the dough. Put all the cylinders vertically on a baking tray, let stand for 10 minutes, then bake in a pre-heated to 180C oven for approximately 15-20 minutes.

I had to turn the cylinders upside down once half-through the baking, as the tops started to brown, and the bottoms were still raw.

Cool them for a few minutes. The cakes come off the molds easily.

Enjoy!


Friday 22 November 2013

Caramel peanut butter cookies


Peanuts are technically not nuts. They are a variety of beans. Nonetheless, they are frequent guests in many baking recipes, and I've tried quite a few myself: starting with peanut butter cupcakes and ending with peanut blondies. But these cookies are very special. The combination of caramel and peanuts produces rich and unique taste. It's difficult to stop after the first one. I certainly find it impossible. I need another one! Or better still, two more!

But I am happy to share them with you. See how good I am? I hope you will love them just as I do.


Caramel peanut butter cookies

Recipe

200ml of double cream
1/2 cup of smooth peanut butter
150g of brown sugar
1/4 cup of water
3 Tbsp of white sugar
300g of flour
1 egg
80g of butter
1 tsp of vanilla extract
1 tsp of baking powder
1/4 tsp of salt
1/2 cup of roasted peanuts, chopped into small pieces

Pre-heat the oven to 180C.

We will start with making caramel. Boil brown sugar with water in a saucepan, stirring from time to time. If you have a sugar thermometer, by all means use it. To turn into caramel your sugar should reach 120C. However, I personally never use thermometer when making caramel. I kind of trust my gut feeling. My guide to caramel stage is sugar changes colour sharply to darker shade and starts boiling in the saucepan in a particular way - with faster larger bubbles. That's when I know my caramel is ready. Now add cream and boil for one more minute. Remove from heat. Cool to room temperature.

Mix butter and white sugar, add egg, vanilla extract and peanut butter. Add cooled caramel and chopped roasted peanuts.

Mix flour with salt and baking powder. Gradually add to the butter mixture. Do not tip all the flour in one go! You might need a bit less. Mix the dough until it is of soft and pliable consistency. Using an ice-cream scoop (or a spoon) drop the cookies onto a baking sheet lined with baking parchment. Bake for about 15-20 minutes till lightly golden. Cool on a wire rack.

Enjoy!


Thursday 21 November 2013

Caramel mini-cheesecakes


With Christmas and New Year coming soon I have already started thinking about my menu for the holidays. My favourites for holiday season are buffet-style dishes. The guests can help themselves, and this takes pressure off me as a host so I can enjoy the party with everybody else. And these cheesecake cupcakes are perfect for a buffet dinner!

If you are a caramel lover (as I am)  these lovely treats will not leave you indifferent. They are full of flavour, and whipped cream topping balances the caramel taste wonderfully. I hope you and your guests will love them!


Caramel mini-cheesecakes

Recipe

1 cup of biscuit (or cracker) crumbs
60g of butter
300g of cream cheese
1/2 cup (125ml) of sour cream
2 eggs
1/2 cup of caramel sauce (I used store bought)
1 Tbsp of AP flour
1/2 Tbsp of corn starch
200ml double cream
1-2 Tbsp of icing sugar (or to taste)

Pre-heat the over to 180C.

Melt butter in the microwave. Combine with biscuit crumbs. (I was running out of butter, so I used less than 60g, and you can see on the picture that the bottoms of the cheesecakes are a little crumbly).

Line the muffin tin with paper cases. Divided the biscuit mixture evenly between 12 holes. Press the crumbs firmly to the bottom with a spoon.

Mix cream cheese, sour cream, eggs and caramel sauce till smooth. Try the mixture at this stage: if it's not sweet enough to your taste add a little sugar. I personally do not like overly sweet desserts, so for me the taste was just right. I also did not add any salt to the mixture, because there was some salt in my cream cheese.

Finally add flour and corn starch. Pour the mixture on top of the crumbs and bake in the pre-heated oven for approximately 25 minutes (or till the edges of the cheesecakes become firm and the centre is still a little wobbly). The cakes should not crack or become brown on top - these are the signs that you have overcooked your cheesecakes.

Cool your cakes in the tin and put them in the fridge for 3-4 hours. Whip cream with icing sugar to soft peaks, transfer to a pastry bag and decorate the cheesecakes. You can serve them right away - or you can actually freeze them until you need them for your party. They can be kept in the freezer for up to 1 month. To defrost, simply transfer them from the freezer compartment to the fridge section and leave overnight.

Enjoy!


Wednesday 20 November 2013

Raised doughnuts


There is something comfortable about donuts. They remind me of soft cushions which you burrow yourself into while lying on the sofa watching TV. And they smell of home...

These particular donuts are delightful! Light, fluffy, with a perfect donut "belt" along the edge. I came across the recipe on the blog Joepastry and totally loved them. Ever since I made them, they are one of my favourite. Try them, guys. I am sure you will love them too!

P.S. I have slightly changed the recipe to my taste.


Raised donuts

Recipe

Sponge (prepare the night before):
3/4 cups of AP flour
1/2 tsp of yeast
1/2 cup of warm water
1 large egg

Mix and leave at room temperature for half an hour, then refrigerate overnight.

Dough:
All sponge you made before
1 slightly generous cup of AP flour
1 tsp of yeast
1/4 cup of milk powder
1/4 tsp of salt
2 1/4 tsp of sugar
1 large egg
2 tsp of vanilla extract
4Tbsp of butter
Oil for frying (I used special frying fat, which is available in the butter section of any supermarket)

Mix all ingredients, except for butter. Then tip the dough on a floured work surface and start kneading, adding butter, 1 table spoon at a time. Knead till all the butter is incorporated and the dough is smooth and elastic (about 10 minutes). If the dough is too sticky add a bit more flour (I added about 1\4 cup extra).

Put the dough back to your bowl and let rise till doubles in size (for about 2 hours). Roll the dough into a rectangle of about 1 cm thick. Using a pastry cutter (mine was 7cm in diameter) cut circles. Cover the donuts with cling film and let them rise again for about 1 hour.

Heat oil in a saucepan (there should be at least 5 cm of oil in your saucepan). Insert a candy thermometer. When the temperature hits 185C, you can start frying the donuts. Fry on both sides till golden.

Glaze:
2Tbsp + 1 tsp of any of your favourite herbal tea infusion (cold) or milk
224g of icing sugar
1/4 tsp of lemon extract
a few drops of food colouring (optional)

Mix all the ingredients till you rich runny consistency. Spread over the donuts.

Enjoy!


Tuesday 19 November 2013

Bacon and herb cupcakes


Sometimes you want something baked, but not sweet. These cupcakes are perfect for such occasions. Besides, they can go nicely as a starter at a dinner party!

The recipe is slightly adapted from Southern Living magazine.


Bacon and herb cupcakes

Recipe

1 1/2 cup of sour cream
1/2 cup of cooked, finely crumbled bacon
1/2 cup (112g) of melted butter
1/4 cup of finely chopped assorted fresh herbs (I used dill and coriander)
2 green onions, chopped
2 eggs
1/2 of pepper
2 cups of self-raising flour

To garnish:
fresh herbs
cooked and crumbled bacon (optional)
200g of cream-cheese, softened

Pre-heat the oven to 180 C (gas 4).

Stir together the first 7 ingredients. Sift in the flour. Spoon the batter into greased muffin tins, filling completely full.

Bake cupcakes for approximately 25-30 minutes, or until golden brown. Cool for about 10 minutes and remove from tins.

Cool completely and decorate cupcakes with cream-cheese, herbs and bacon (well, I did not put bacon on mine).

Enjoy!